Advertisement

Roads rendering on large terrain

Started by September 23, 2019 06:07 AM
3 comments, last by yonisi 4 years, 11 months ago

Hi,

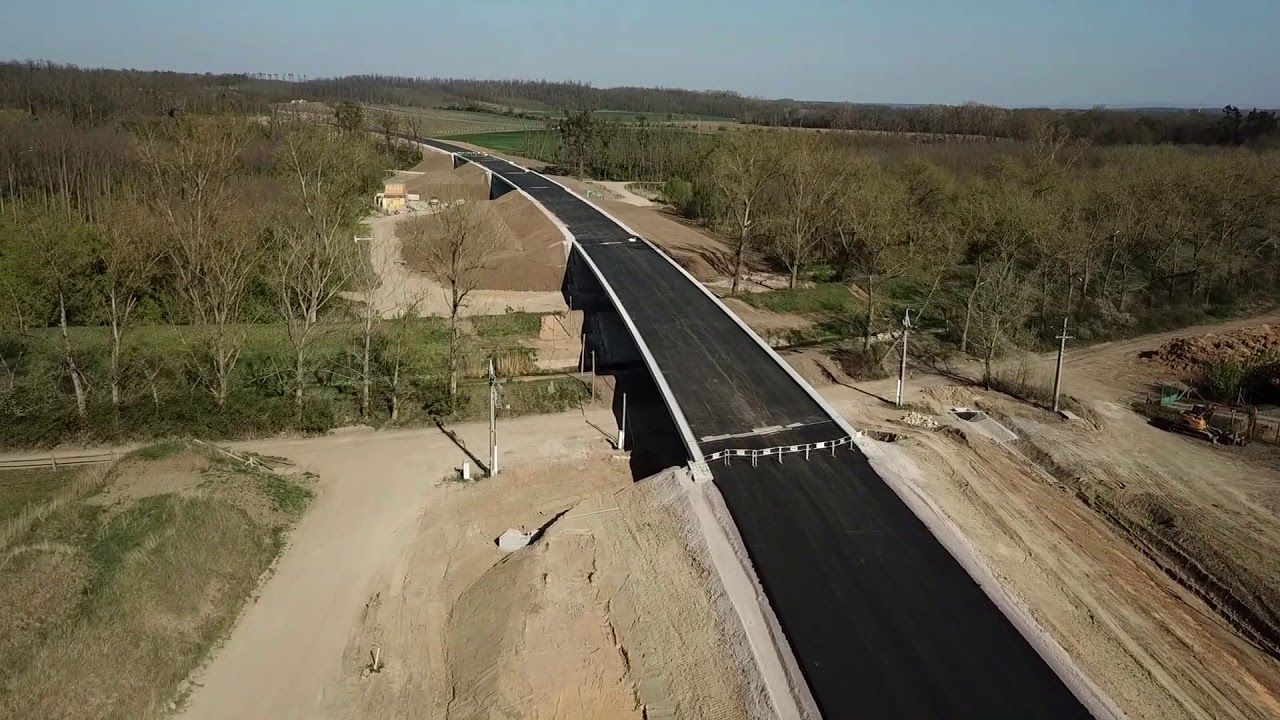
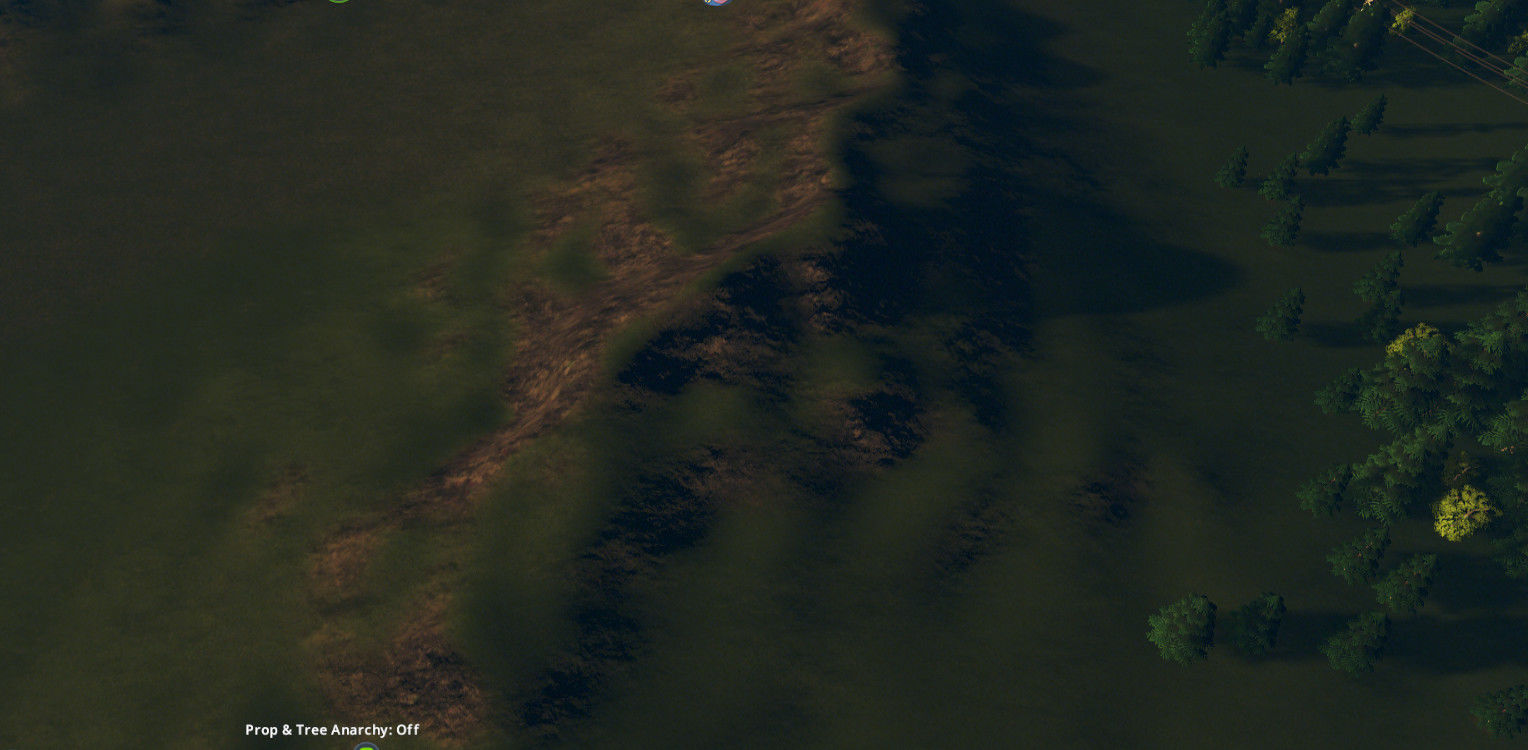
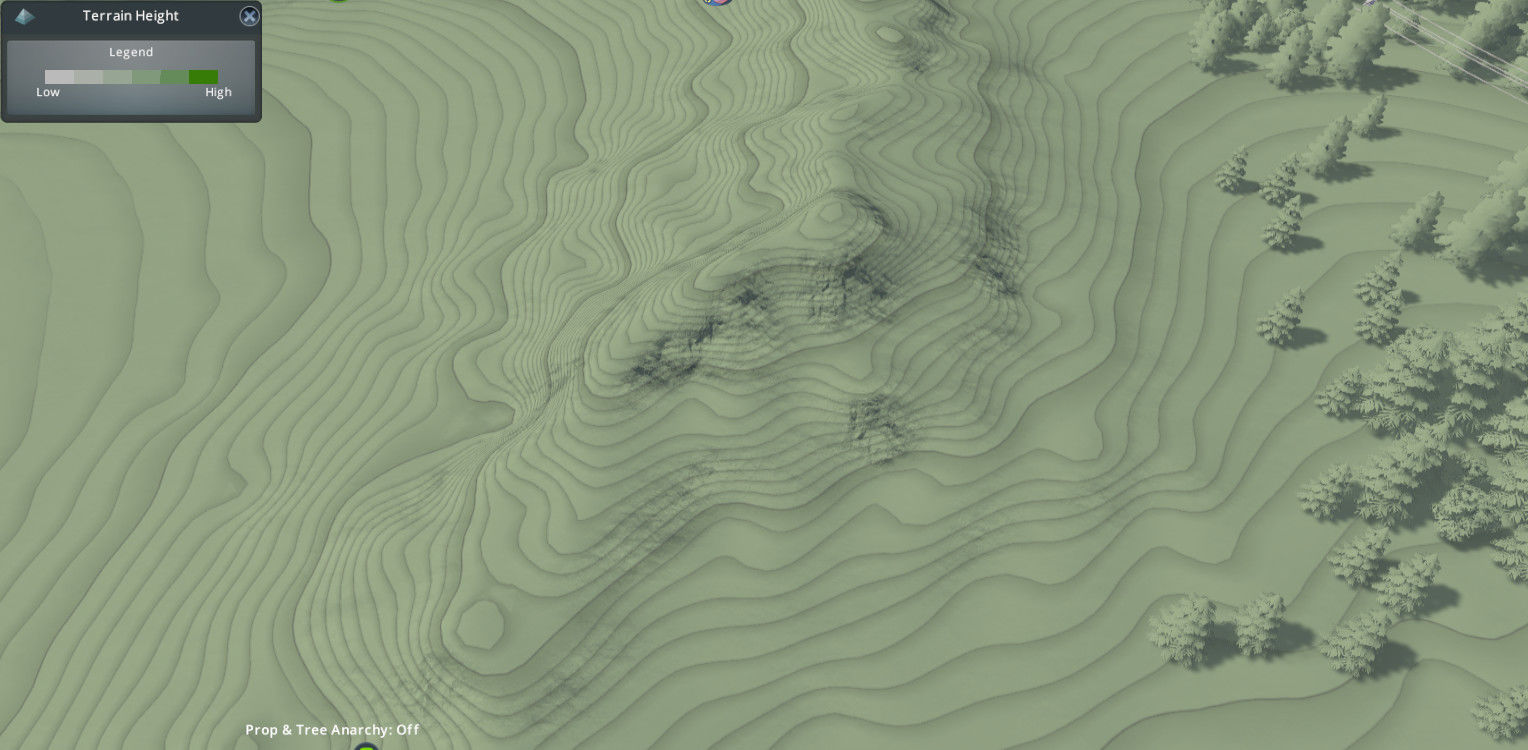
I'm working on a terrain engine for sometime now, and I would like to add now some roads to my terrain. I'm not sure yet to which direction should I look for to get the best result. My terrain is for a flight simulator and so it covers a pretty large area of 1024x1024 KM in size. The heightmap size is 16K so I have 62.5m mesh resolution at the highest tessellation level (It is good enough). The main problem I have though is that it's pretty hard for me to get down to details, as the rendering is done in large chunks (Based on Nvidia DX11 terrain tessellation sample - Shown here: https://developer.nvidia.com/dx11-samples and also the PDF here: http://fliphtml5.com/lvgc/xhjd/basic) and all the texture coordinates are generated from the grid in the shaders, I hardly have any control on "small items". Not sure if this is a good enough explanation of my problem, but it's like I can't just tell the terrain: "Draw road segment here".

The way I see it, I have more or less 4 options (Unless you can suggest more):

1. Trying this sample from Humus engine that is rendering roads on terrain using stencil buffer and box volumes: http://www.humus.name/index.php?page=3D&ID=84 - I think this is my preferred choice but for some reason I wasn't able to get anything rendered at all on my terrain using the code from their sample (At least with translation to my own engine, I must be doing something wrong. Do you also think that this is the best method to draw roads on terrain?

Pros: Seems simple and efficient, using the stencil buffer that the HW gives for free

Cons - I can't get it to work :)

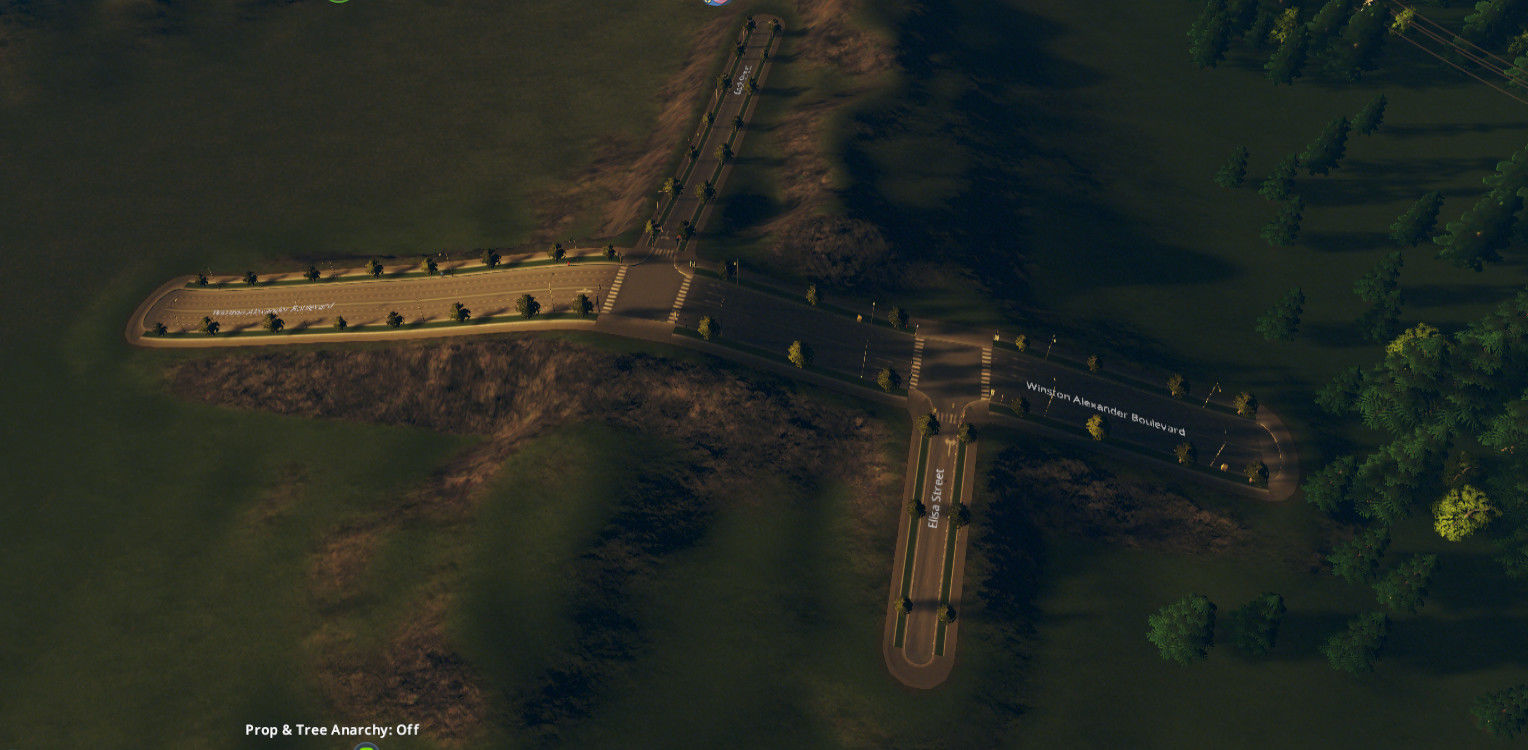
2. Render 3D models of roads on the terrain.

Pros - Minimal rendering, no interfering with the terrain rendering itself.

Cons - Hard to get correct results with tessellated terrain, potential Z-Buffer issues with the terrain.

I think that's the worse solution.

3. Simple texture mapping - Holding huge textures to map roads on the entire terrain. As basically I need only highways and real roads (Sand roads, small streams and such others will be coverd by a 4m/pixel photoreal textures), it could be not that much but still will probably cost some GBs of textures to cover the entire terrain area with sufficient resolution (Roads as textures should have at least 4m/pixel).

Pros - Relatively easy to render, no Z-Buffer issues

Cons - Large textures to hold and manage, branching in the Terrain's pixel shader for checking if we are on a road pixel

4. Texture mapping but with RTT. Instead of holding constant textures in disk and load them when necessary, RTT the roads into textures in memory and hold only the necessary data this way. By using small tiles (Example 1x1 KM) I think it's possible to map only tiles with roads and render them, all other tiles will be set with 0-mapping and so shader will fetch "no roads" texture and won't map anything

Pros - Texture mapping but without holding any real textures on disk

Cons - Requires RTT including probably render into mipmaps stages, may be a bit complicated to manage, area with many roads may get to large usage of memory


I still would like to get the Humus sample to at least work on my engine. Unless you think it has other issues which may make it not that great for broad usage on a large rendered terrain.

Thanx!

There is nothing wrong with Humus's demo and large terrains, it can be used for that. The main problem that such technique has is, that it isn't really suitable for roads, unless you prepare terrain geometry for road before.

Rendering of roads needs few parameters - like road width, maximum allowed slope, maximum allowed angle change per segments, etc. Now, it will get a bit image heavy - first, let me post here a photo of recent road construction near my town:

05.thumb.jpg.55f659cdbd948c7de52105b517b4e10b.jpg
Fig. 01 - real world road construction. (Credits for the photo: Lechovice town and Ministry of transportation of Czech Republic)

This is a 1st class road in my country, they have some specific parameters (max allowed slope change, width of lane, min radius of turn, minimal distance to trees, etc. - these can all be looked up in standards and requirements for roads, and they are going to be different in each country).

What is important factor here is that the terrain has been adjusted to support the road and its standards. This is actually very important feature to make roads look realistic in games, that many games actually forget. (Interesting unrelated fact, not related to the terrain - the asphalt actually is very dark when you pour it and it gets rigid, over the time its color change - almost none games on the market actually take this into account!).

In case of aerial view (I know the photo is from drone, so the altitude is very low, compared to airplanes) this is still visible - from experience when I was piloting a helicopter. Depending on your altitude of course - but within few thousand feet, this will be visible and noticeable. Especially when you are in hilly or mountainous area.

Let's jump ahead, so - how does a game do it? For this I decided to screenshot Cities: Skylines (so all credits for the game go to Colossal Order, published by Paradox Interactive, screenshots were captured by me).

01.thumb.jpg.399a3f98243c0edeaeea25f2071e1b52.jpg

Fig. 02 - Terrain before building the road (standard game view).

03.thumb.jpg.9f22746843be354d10dbfd2c20209c65.jpg

Fig. 03 - Terrain after building the road (standard game view).

Notice how the terrain has changed. The geometry had to be adjusted to accommodate for at least the slope and direction of the road. Also notice that crossroads are technically flat (as usual for construction - while not always the case, in majority of cases in real world the terrain under crossroads will be flattened - if and when possible within budget of course).

Let me also show you elevation view (as the game allows it), which will give you the idea how the terrain geometry has been adjusted:

02.thumb.jpg.40c8e88b074798ad1b8cf870a86ebd4b.jpg

Fig. 04 - Terrain before building the road (elevation view).

04.thumb.jpg.a82561e6d4bb8e5d2c1296db920ebd5e.jpg

Fig. 05 - Terrain after building the road (elevation view).

On the elevation view you can clearly see the maximum allowed slope for the road, and that the shape of the mountain was actually changed quite a lot.

Now - how to calculate it? Generally you will need a definition of terrain (the simplest way is grid of height values - i.e. a height map representation), and a definition of road (which is technically just a set of segments - whether you allow only 2 points defined straight segments, or have a complex spline system is up to implementation).

The basic case has one segment of points Ra and Rb, width of Rw and max slope of a (Important note here - the definition of road has to be checked before computing - as it has to be "build-able", i.e. you can get from point Ra to point Rb with max. slope of a). And set of heights H representing terrain.

Brute force case goes over all heights of the terrain, and each height of the terrain impacted by the road has to be re-computed (basically a linear function for each height in oriented square between Ra and Rb with width of Rw). Like this:

06.jpg.73c73966be5057ca7eae8d0a73e0b8cb.jpg

Fig. 06 - Height map selection of impacted vertices

Where:

  • Red point is Ra
  • Blue point is Rb
  • Green square of length of RXw = |Ra - Rb| (let's call this direction RX and RY be perpendicular direction for this) and width of 2 Rw

Each point within the Green square needs to have height recomputed as following:

H'.y = Ra.y + dot(H.xz - Ra, Rx) / RXw * (Rb.y - Ra.y)

Which will basically make a linear slope on the terrain for the road along the direction from Ra to Rb.

Of course the algorithm can be improved a lot (as said - using splines instead of just segments, improving the terrain next to road to have certain max slope (as seen on real photo), etc.) The important thing is - once this adjustment of the terrain geometry is done, you can place road geometry on top of it without any issues.

I had an article for this in work, although didn't have time to finish or work on it too much as I'm quite busy these days. So, in case of any further questions - feel free to ask.

My current blog on programming, linux and stuff - http://gameprogrammerdiary.blogspot.com

Advertisement

I have always preferred to go with your #2 approach, of rendering separate road geometry on top of height-adjusted terrain as @Vilem Ottediscusses. A trick you can use for flattening/adjusting the road bed is to construct a set of splines with knots specified in your editor tool, then perform a pass across the terrain adjusting heights to the spline ribbon before constructing the road geometry:

Image of spline on terrain

Image of road generated from spline

You can see that if you adjust the terrain heights, then you don't have troubles with terrain poking up through the road geometry. During the spline tessellation step, you can make adjustments to the knots of the spline to account for maximum slope, radius of turn, etc... as @Vilem Otte suggested should be done.

OK I see. Thax for fast answers!

So basically you both suggest to go with a separate road rendering (i.e separate geometry) as the best method.

In general, what you say sounds very logic, as:

1) Sure I do hold all the height data in a heightmap as after all it is for a flight sim and so full physics must work (Interaction of airplanes, vehicles, structures, trees etc with the terrain), so flattening areas shouldn't be such a big deal (I already have flattening code

2. The roads information that I'm planning to implement on the terrain will be originated from real data, and since the terrain is also based on real data (All stuff like terrain projection is already taken care of) the roads should be rendered where real roads exist, so I don't expect that much of mismatches.

However, all that said, I do worry mostly (and that's why I considered this hard to achieve) about what seem to be a must for matching road vertices with terrain vertices. I mean, since we talk about virtual terrain with limited resolution (My case for now, 62.5m mesh), I'm worried that I will have to attach vertices wherever the terrain vertices are positioned, as well as at every place the road is changing. In other words, I will have to closely make sure that all geometry is "100% parallel" vertically at all points or otherwise I will see either roads hovering above terrain or sinking in. I think this is the greatest challenge by rendering roads as separated 3D objects.

Thanx again for answers and help! :)

This topic is closed to new replies.

Advertisement